
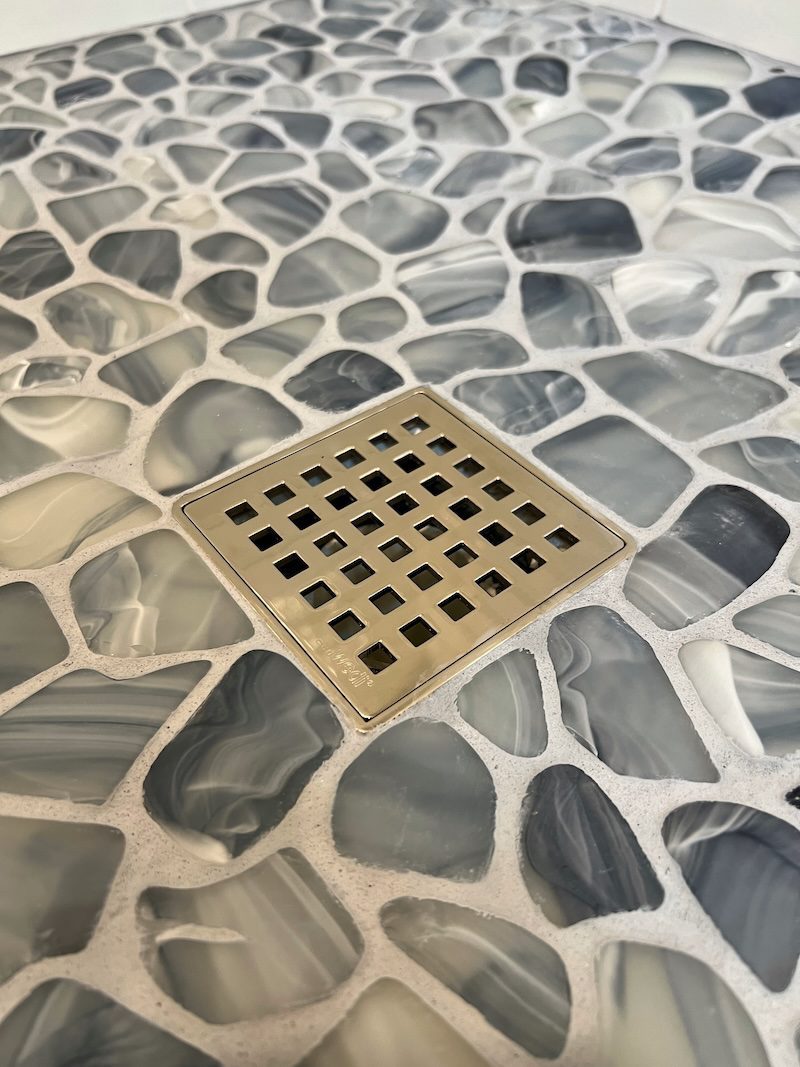
The Importance of Proper Installation
When it comes to designing a beautiful and functional shower, the choice of flooring materials is crucial. Glass pebbles are increasingly popular due to their unique aesthetic appeal and the luxurious feel they provide underfoot. However, achieving a flawless installation that ensures both durability and visual appeal requires meticulous attention to detail and the right materials. In this blog post, we will explore the importance of properly installing glass pebbles on a shower floor using an epoxy thin set and the method of pulling out and setting each piece one by one.

Aesthetic Appeal and Benefits of Glass Pebbles
Glass pebbles offer a unique and attractive look that can transform any shower floor into a spa-like retreat. The smooth, polished surface of the pebbles creates a natural and soothing ambiance, while their reflective properties can enhance the brightness and spaciousness of the shower area. Additionally, glass pebbles are available in a variety of colors and finishes, allowing for creative designs and personalized aesthetics.
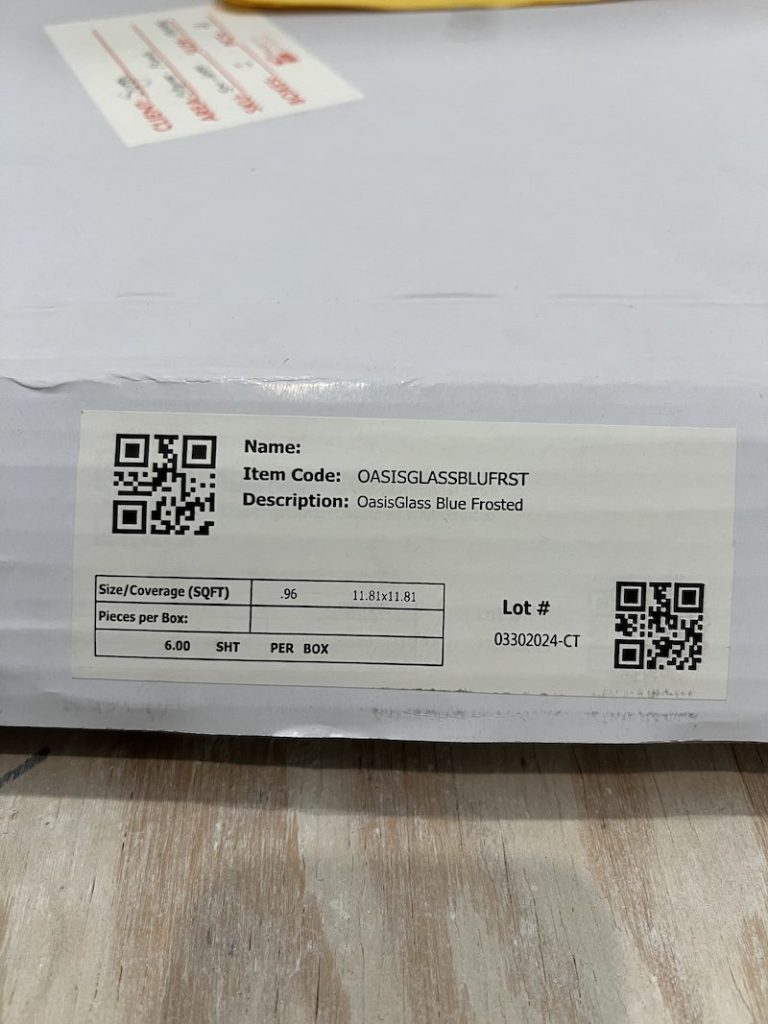
Beyond their visual appeal, glass pebbles provide several practical benefits:
- Comfort Underfoot: The rounded surfaces of the pebbles create a comfortable and massage-like feel, making each shower a more enjoyable experience.
- Slip Resistance: The textured surface of the pebbles provides natural slip resistance, enhancing safety in the shower.
- Easy Maintenance: Glass pebbles are non-porous, which makes them resistant to stains and easy to clean.
Why Epoxy Thin Set is Essential
Using the right adhesive is critical to the success of any tile installation, and this is especially true for glass pebbles in a shower environment. Epoxy thin set is the preferred choice for several reasons:
- Superior Bond Strength: Moreover, epoxy thin set provides exceptional adhesion, ensuring the glass pebbles stay securely in place. This is crucial in wet and humid environments like showers.
- Waterproofing Properties: Additionally, epoxy thin set is highly resistant to water penetration. It effectively prevents moisture from seeping through and damaging the underlying structure.
- Chemical Resistance: Furthermore, this thin set resists chemicals and cleaning agents commonly used in showers. This helps maintain the integrity of the installation over time.
- Flexibility: Finally, epoxy thin set offers some flexibility, which is beneficial for accommodating slight movements and expansions in a shower setting.
The Importance of Individual Pebble Placement
One of the key steps in achieving a flawless glass pebble shower floor is the meticulous process of pulling out and setting each pebble individually. Here’s why this method is crucial:
- Ensuring Proper Adhesion: By setting each pebble individually, you can ensure that every piece is adequately embedded in the epoxy thin set, maximizing adhesion and stability.
- Achieving Even Surface: Individual placement allows for precise adjustment of each pebble’s height and position, resulting in a smooth and even surface that is comfortable to walk on.
- Customizing the Design: This method offers the flexibility to create custom patterns and designs, allowing for greater creativity and personalization.
- Preventing Voids and Hollow Spots: Setting pebbles one by one helps to avoid the formation of voids or hollow spots underneath the tiles, which can compromise the durability and longevity of the installation.
Step-by-Step Installation Process
To ensure a successful installation, follow these detailed steps:
- Preparation: Begin by thoroughly cleaning and preparing the shower floor. Ensure that the surface is level, free of debris, and properly waterproofed.
- Mixing the Epoxy Thin Set: Carefully mix the epoxy thin set according to the manufacturer’s instructions. It is important to achieve a consistent and workable mixture to ensure optimal adhesion.
- Applying the Thin Set: Spread a thin, even layer of epoxy thin set onto a small section of the shower floor using a notched trowel. Work in small areas to prevent the thin set from drying out before you can place the pebbles.
- Placing the Pebbles: Begin placing the glass pebbles individually into the thin set. Press each pebble firmly into place, ensuring full contact with the adhesive. Take your time to adjust the positioning and height of each pebble to achieve a uniform surface.
- Checking for Voids: Regularly check for any voids or hollow spots by gently tapping on the pebbles. If you find any, lift the affected pebbles and reapply thin set as needed.
- Grouting: Once the epoxy thin set has cured (follow the manufacturer’s curing time), apply grout to fill the spaces between the pebbles. Epoxy grout is recommended for its durability and water resistance. Spread the grout evenly and use a rubber float to work it into the joints.
- Cleaning and Sealing: After the grout has set, clean the surface of the pebbles with a damp sponge to remove any excess grout. Allow the grout to cure fully before sealing the entire surface with a high-quality sealer to enhance the longevity and appearance of the installation.

Conclusion
Properly installing glass pebbles on a shower floor with epoxy thin set requires patience and attention to detail. The process is meticulous but yields stunning results. Following these steps will help you create a beautiful and durable shower floor. This installation not only enhances your bathroom’s aesthetic appeal but also ensures comfort and safety for years.
Investing in high-quality materials and taking the time to do it right is essential. This will ensure your glass pebble shower floor remains a functional and attractive feature. Whether you’re a professional or a DIY enthusiast, the principles in this blog will guide you to a flawless installation.
Glass Pebble Shower Floor: Expert Installation Tips by

Also Read: